
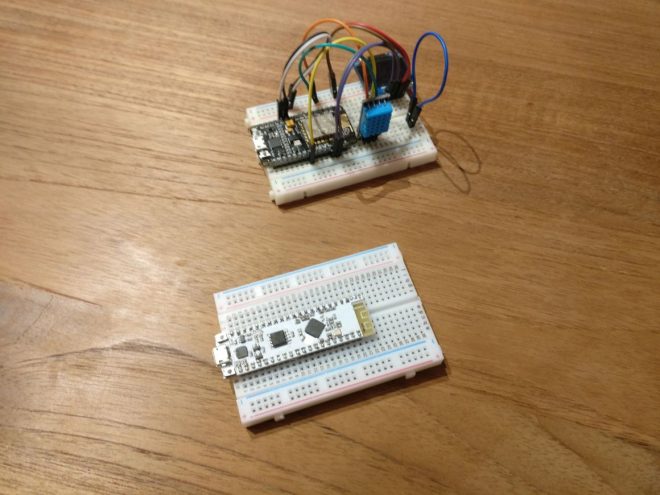
Today I got my first set of ESP 32 boards from AliExpress, and they are a beauty. If you don’t know the ESP32 yet, it’s the successor of the ESP8266 from Espressif Systems which is a love child of the IoT prototyping community.

The specs are amazing, it seems Espressif took everything the community love about the ESP8266 and fixed many of disadvantages. The following table (content from wikipedia.org, compares them quite nicely)
| Item | ESP8266 | ESP32 |
| CPU | 32 Bit, 80Mhz, Single Core | 32 Bit, 160 or 240 MhZ, Dual Core |
| Wifi | 802.11 b/g/n | 802.11 b/g/n |
| Bluetooth | – | 4.2 + BLE |
| ADC | 10 Bit | 12 Bit |
| Peripherie |
|
|
| Other |
|
The Espressif IoT Development Framework (Link) includes FreeRTOS, and you can conveniently use it from the Arduino ID. Simply create and delete FreeRTOS tasks using the well known commands.
|
1 2 3 4 5 6 7 8 9 10 11 12 13 14 15 16 17 18 |
void setup() { Serial.begin(115200); xTaskCreate(readSensor, "ReadSensorTask", 10000, NULL, 1, NULL); } void loop() { delay(2000); } void readSensor( void * parameter ) { int i = 0; while(true){ char buffer [50]; sprintf (buffer, "Hello From Task %d", i++ ); Serial.write(buffer); delay(1000); } } |
The first parameter of the xTaskCreate function takes the pointer to the function that implements this task. The second parameter is the task name, the name can be used for debugging, but could also be used for retrieving a task handle. The third parameter is the stack size that should be allocated for this task, determining the stack size can be a challenging task (Link). The fourth parameter is a value that is passed to the task as a parameter. The fifth task is the priority of the task. The sixth parameter can be passed in to obtain a handle on the task directly.
With this simple setup, you can have a separate task running in the background reading for example the ADC and posting the result to a BLE characteristic. Isn’t that cool?